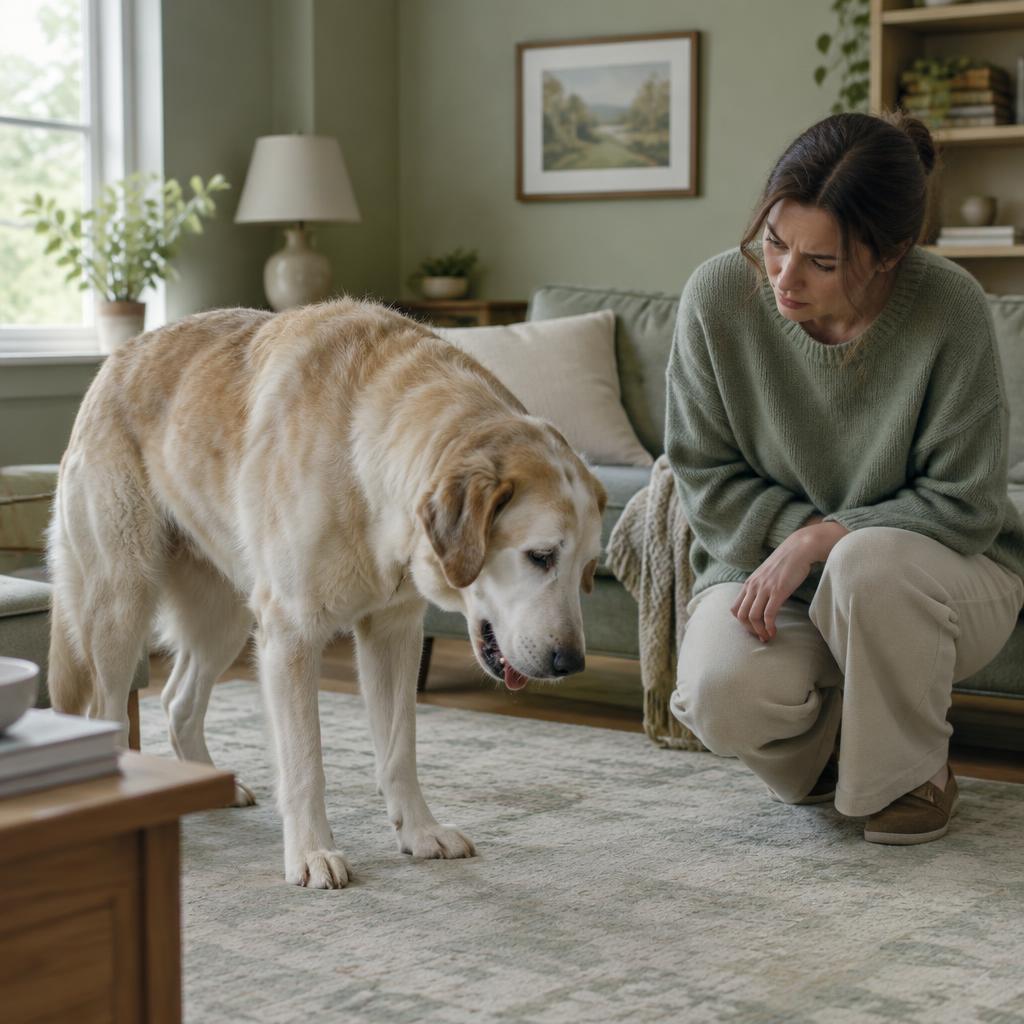
Dog First Aid: The Kit and Skills Every Owner Needs
First aid buys time on the way to the vet; it never replaces one. The kit to build, the skills worth learning, and the mistakes to avoid.
The SniffScroll desk
Published 10 October 2026
Reviewed against current veterinary guidance
The short version
- First aid stabilises a dog for the journey to the vet; it is never a substitute for treatment.
- A basic kit costs little and fits in one pouch: gauze, self-adhesive bandage, saline, scissors, tweezers, thermometer.
- Save three numbers now: your vet, the out-of-hours service and a poison line.
- Never use sticky bandage directly on fur, and never give human painkillers.
- An injured dog may bite: a makeshift muzzle protects you both.
Nobody plans the afternoon their dog slices a pad on broken glass or swallows something they should not. First aid is what happens in the gap between that moment and the vet's door, and done well it genuinely changes outcomes. The good news is that the useful part is small: one pouch of kit, a handful of skills, and three phone numbers. This guide covers all three.
The rule that governs everything
First aid stabilises; it does not treat. Every technique here exists to keep a dog safe and comfortable on the way to professional care. If you remember nothing else, remember that: the kit buys time, and the vet spends it.
Building the kit
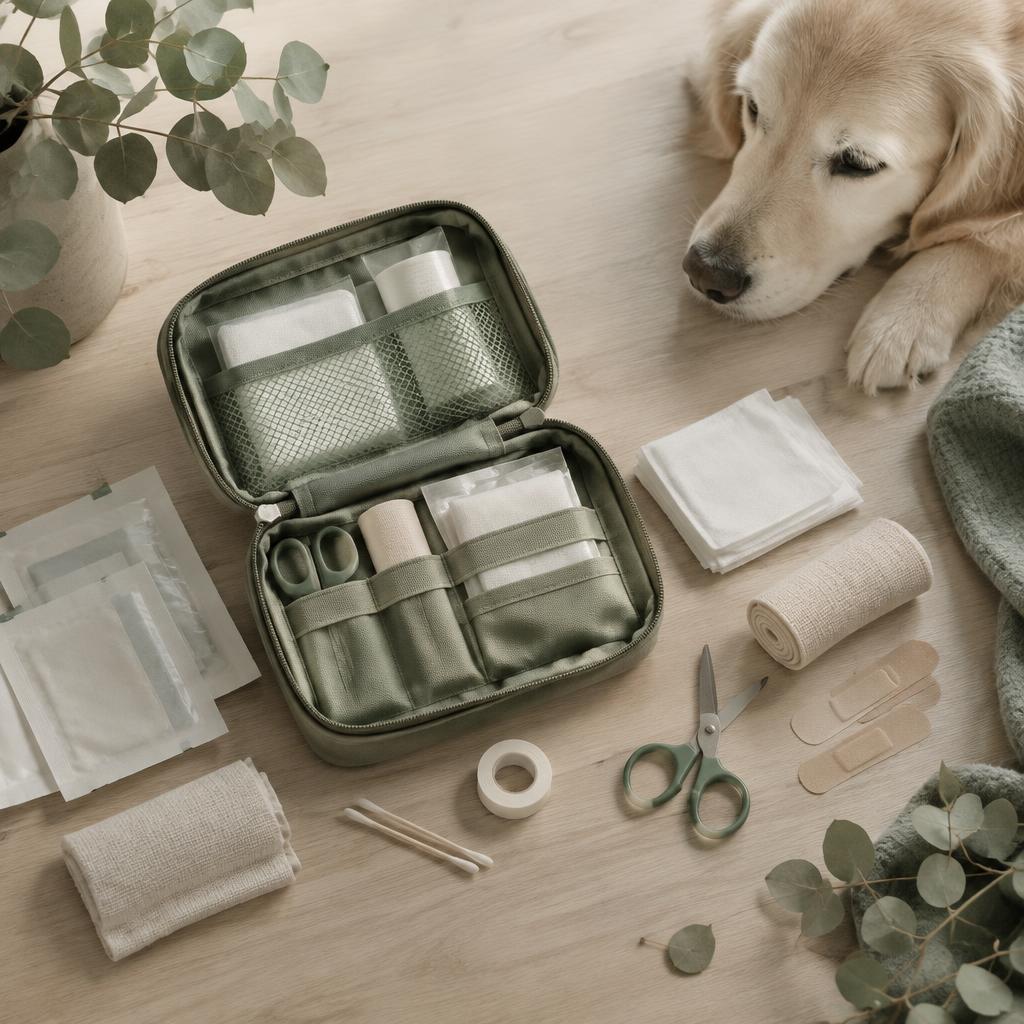
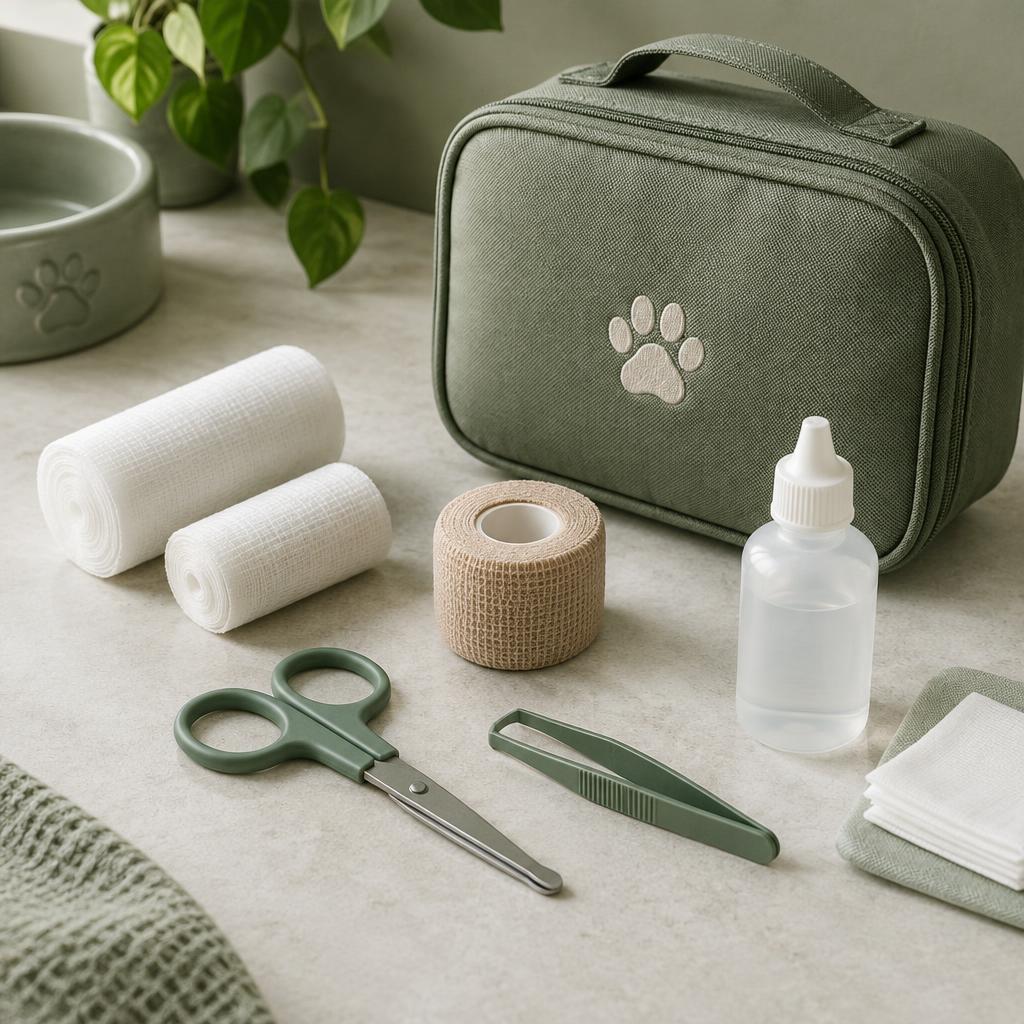
A practical dog first aid kit fits in one small pouch and costs very little:
- Gauze pads and self-adhesive bandage wrap. The wrap sticks to itself, not to fur, which matters enormously at removal time.
- Blunt-ended scissors for cutting bandage and, carefully, fur around a wound.
- Tweezers or a tick hook for splinters and ticks.
- Saline solution for flushing eyes and dirty wounds.
- A digital thermometer and water-based lubricant: a dog's normal temperature is 38.0 to 39.2 degrees.
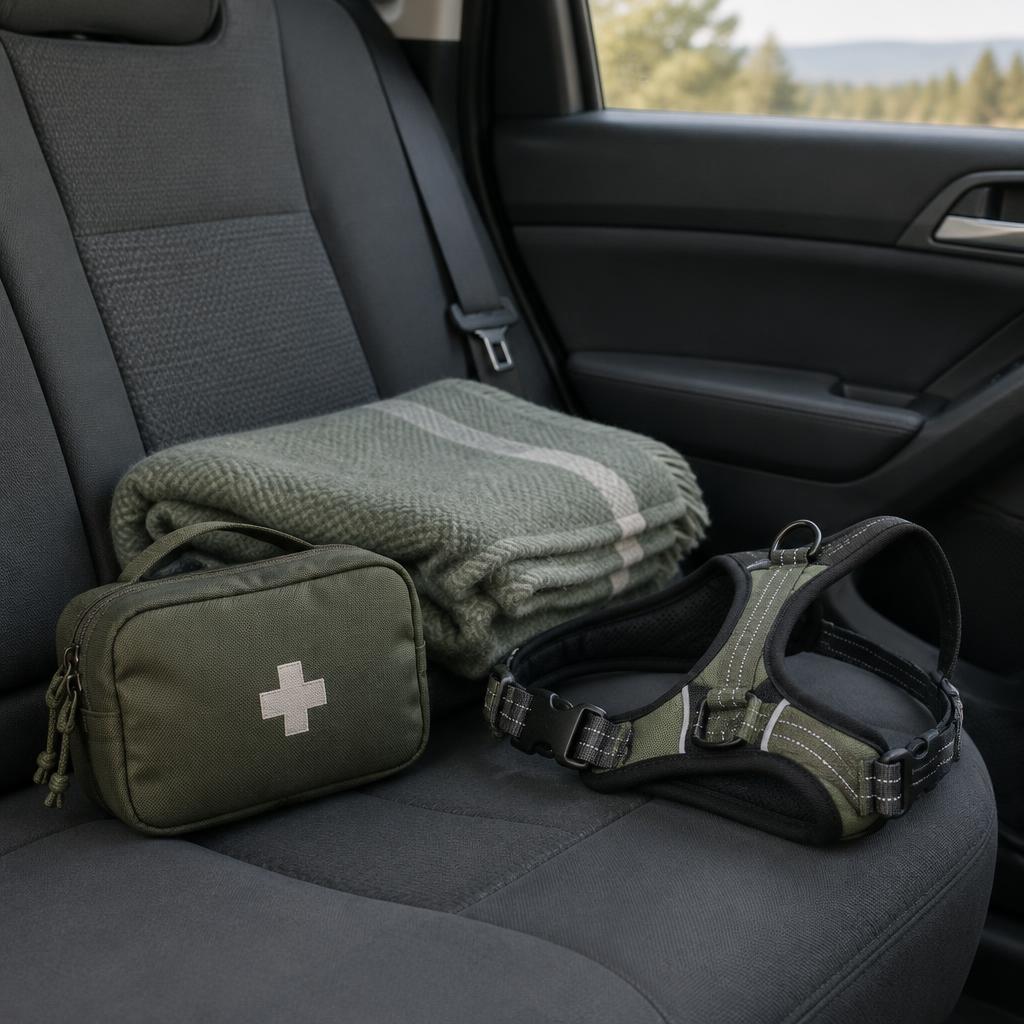
- A blanket: warmth, comfort, and a stretcher for a large dog that cannot walk.
- A muzzle or soft tie. Pain makes even the sweetest dog unpredictable.
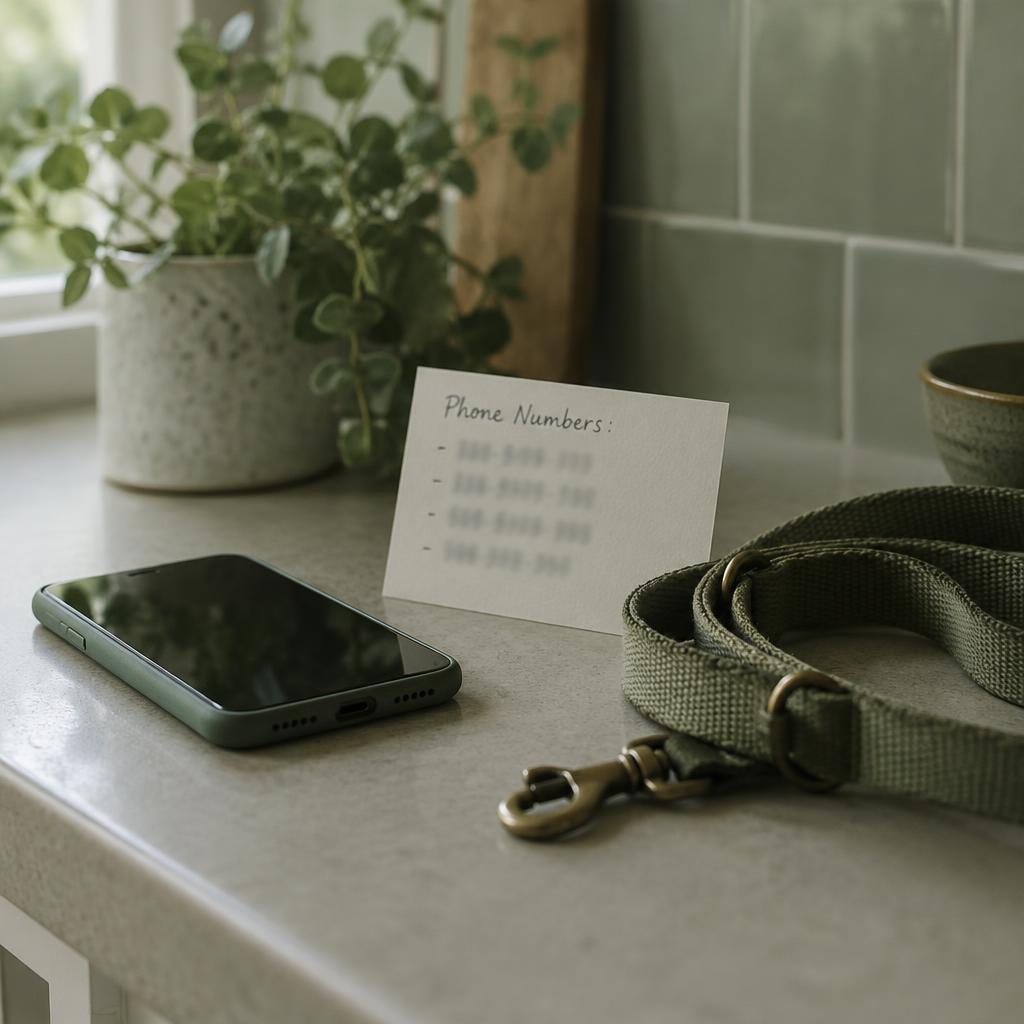
- The numbers card: your vet, the out-of-hours service and a poison line, on paper as well as in your phone.
Keep one kit at home and, if you travel, a duplicate in the car. Check it twice a year for used or expired items.
The five skills worth learning
1. Controlling bleeding. Firm, direct pressure with gauze for several minutes, without lifting to check. Add layers rather than removing soaked ones. Most bleeding stops with patience and pressure; bleeding that does not, or a deep wound, goes straight to the vet.
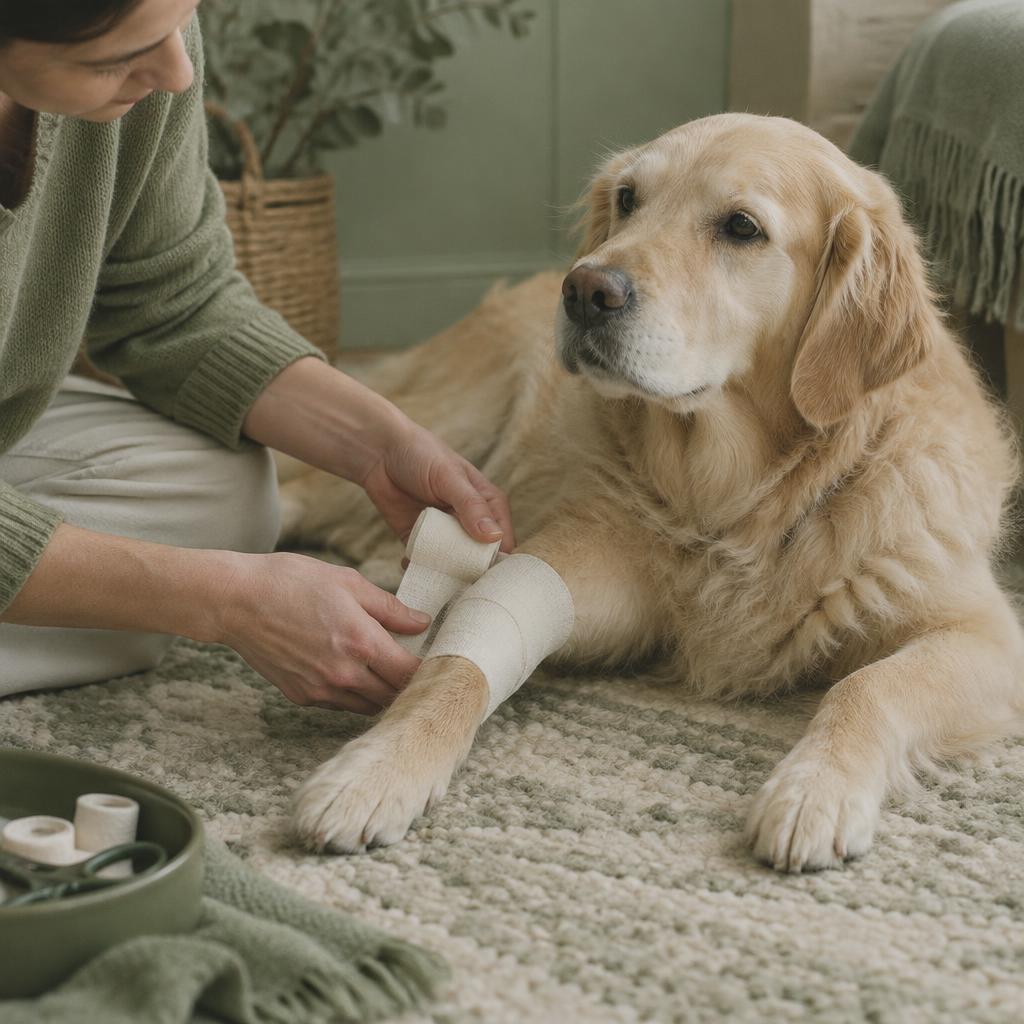
2. Bandaging a paw or leg. Pad the wound with gauze, then wrap with self-adhesive bandage firmly but not tightly: you should slide two fingers under it. Too tight is worse than too loose, as it can cut off circulation. A bandage is a travel measure, not a treatment.
3. Helping a choking dog. Look in the mouth first. Remove a visible, reachable object with fingers or blunt tweezers, but never sweep blindly down the throat. If the dog cannot breathe and the object will not shift, treat it as an emergency dash to the vet.
4. Cooling heatstroke. Shade, cool water over the coat (especially belly, groin and paws), a fan if you have one, small sips to drink, then straight to the vet. Never use ice-cold water, which constricts blood vessels and slows cooling.
5. Safe handling. Approach slowly, speak quietly, and slip on a muzzle or soft tie before touching a painful area. A frightened, hurting dog may bite the person they love most, and a bitten rescuer helps nobody.
The mistakes to avoid
- Never give human painkillers. Ibuprofen and naproxen are toxic; paracetamol is dangerous without a vet's dose.
- Never use sticky plaster or tape directly on fur. It hurts coming off and pulls skin with it.
- Never induce vomiting unless a vet or poison line explicitly tells you to: some substances do more damage coming back up.
- Never delay the vet call to finish a home remedy. First aid is the bridge, not the destination.
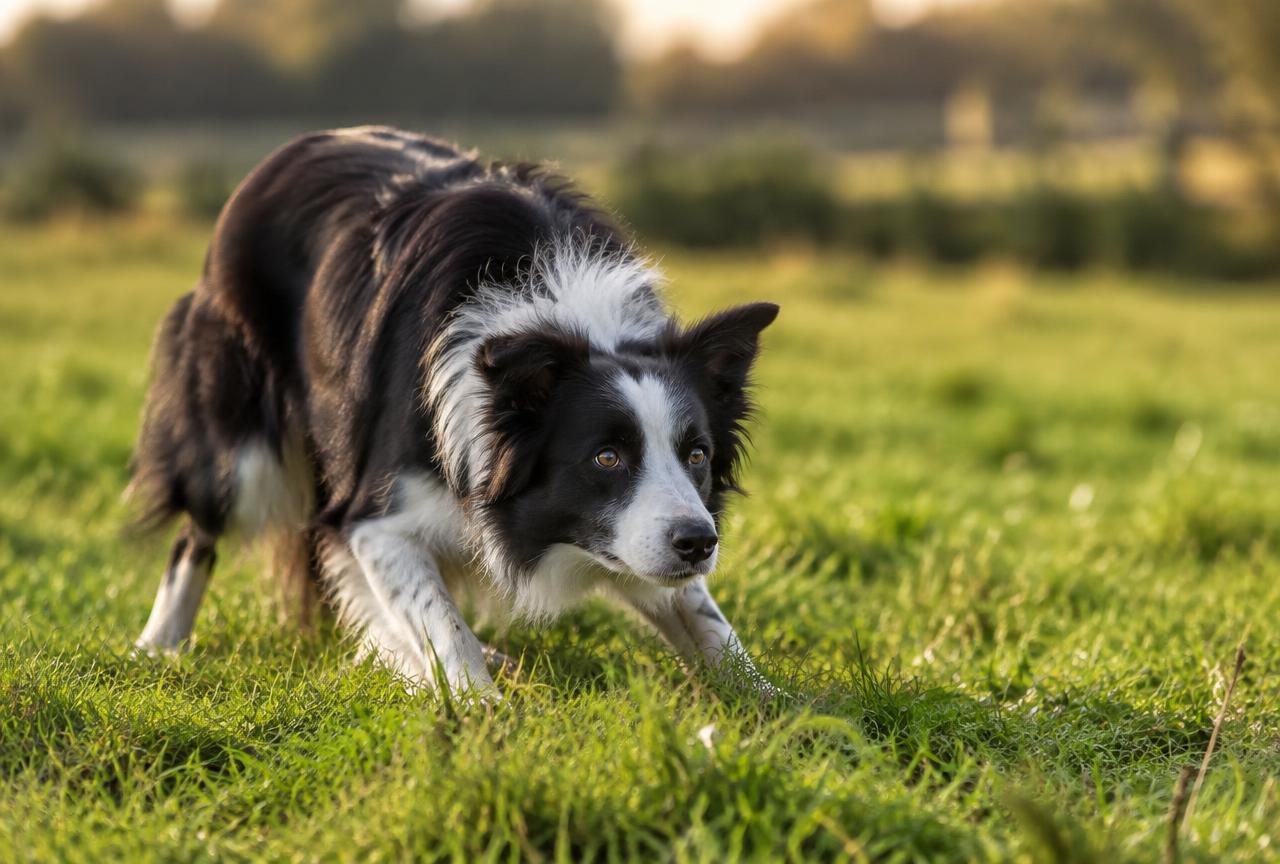
Active breeds such as the Border Collie and adventure companions like the Labrador Retriever collect more than their share of cut pads and stings, so their owners benefit most from having the kit ready. Our guide to dog bee stings covers one of the most common summer emergencies in detail.
Interactive tool
First aid kit builder
Dog size, lifestyle and travel habits in, a tailored kit checklist out.
Your kit
- Gauze pads and self-adhesive bandage wrap (never sticky bandage straight on fur).
- Blunt-ended scissors and tweezers for ticks and splinters.
- Saline solution for flushing eyes and wounds.
- A digital thermometer and water-based lubricant.
- Your vet's number, the out-of-hours number and a poison line number, saved in your phone and on paper.
Build it once, check it twice a year
A first aid kit buys time on the way to the vet; it never replaces the vet. Replace used items and check expiry dates every six months.
The numbers that matter
Save these before you need them:
- 1Your regular vet's number.
- 2The out-of-hours or emergency service for your area.
- 3An animal poison line.
Keep them in your phone and on a card in the kit. In a real emergency, nobody remembers a number they have never dialled.
Travel and car kit
If your dog rides in the car regularly, keep a duplicate kit on board along with a blanket and a spare lead. Add a note of your dog's weight, any medications and any conditions: if someone else has to help your dog, that card speaks for you. Our guide to travelling with a dog covers the rest of the travel checklist.
The best first aid kit is the one you checked in spring, not the one you wished for in July.
Bleeding, wounds and bandaging in more detail
Most owner-level first aid is really bleeding control, so it pays to understand it properly. Direct pressure is the whole technique: a gauze pad or clean cloth pressed firmly on the wound, held for several minutes without lifting to peek. Peeking breaks the clot and restarts the clock. If blood soaks through, add a second pad on top and keep pressing. For a paw or leg wound that needs protecting on the way to the vet, pad the wound with gauze and wrap with self-adhesive bandage from the toes upward, firmly but loosely enough to slide two fingers underneath. Check the toes below the bandage every few minutes: if they swell or feel cold, the wrap is too tight and must come off and be redone.
Suspected fractures and moving an injured dog
A dog that cannot bear weight, holds a limb at an odd angle, or cries out when a limb is touched may have a fracture, and the rule is simple: splint nothing, move carefully, go to the vet. Do not try to straighten or splint a limb at home; a badly applied splint does more harm than none. Instead, keep the dog still and move them as a unit. Small dogs can be lifted in a towel sling supporting the whole body. Large dogs travel best on a blanket or board used as a stretcher, with one person at each end. Muzzle first if the dog is frightened or snappy: pain overrides temperament.
Poisoning: the first ten minutes
Suspected poisoning is a phone call, not a home treatment. Note what the dog might have eaten, how much and when, keep the packet or a photo of the label, and call your vet or a poison line immediately. Do not induce vomiting unless a professional explicitly instructs you to: some substances, particularly corrosives and oils, cause more damage on the way back up. If the substance is on the coat or paws, prevent licking and wash the area with mild soap and water while someone else makes the call. Speed matters more than anything else you can do.
Seizures, stings and eye injuries
Three more situations round out the core skills. During a seizure, do not hold the dog or put anything in their mouth: move furniture away, dim the lights, time the episode, and call the vet if it lasts more than a few minutes or repeats. For a bee or wasp sting, scrape the sting out sideways with a card rather than squeezing with tweezers, apply a cold compress, and watch the face and breathing for swelling. For eye injuries, flush with saline if something is on the surface, prevent rubbing with a sock over the paw or an e-collar, and treat every eye problem as same-day urgent. Eyes do not wait.
Practising before you need it
First aid skills fade fast if they are only ever read about. Handle your dog's paws, ears and mouth regularly so examination is normal, not novel. Practise wrapping a bandage on a calm evening rather than a panicked one. Walk the route to your emergency vet once so the drive is familiar. A short first aid course, run by veterinary charities and training organisations, turns all of this from theory into muscle memory, and muscle memory is what shows up on the bad day.
Building calm before the crisis
The most underrated piece of first aid equipment is a dog that tolerates being handled. A dog whose paws, ears, mouth and belly are touched routinely, in calm moments with treats, is a dog that can be examined and bandaged without a struggle when it matters. Build this deliberately: sixty seconds of gentle handling a few times a week, pairing each touch with something good. Muzzle training belongs in the same category. A muzzle introduced positively, with the dog learning it predicts treats and walks, is a tool; a muzzle first seen during an emergency is a trauma. None of this is glamorous, and all of it pays out on the worst day.
The course is worth the afternoon
Reading about first aid is a start, but the skills that surface under pressure are the ones your hands have practised. A half-day pet first aid course, run by veterinary charities, training organisations and some vet practices, covers bandaging on a real dog, CPR technique on a manikin, safe lifting and the decision-making that separates emergencies from inconveniences. You leave with a certificate, but more importantly with the memory of having done each thing once, calmly, with an instructor watching. When the real moment comes, that memory is the difference between freezing and acting. Ask your vet practice what they recommend locally; many run their own sessions.
First aid for the specific dog in front of you
Finally, tailor the general advice to your own animal. A flat-faced breed overheats faster, so heatstroke prevention starts earlier and cooling is more urgent. A giant breed needs the stretcher plan thought through before it is needed, because improvising one for 60 kg of dog is not a plan. A dog with a known condition, epilepsy, diabetes, a heart murmur, should have that condition's emergency briefing discussed with your vet at a routine visit, written down, and kept with the kit. General first aid covers the common ground; your dog's own file covers the rest, and the combination is what prepared actually looks like.
First aid away from home
Most emergencies do not happen in the kitchen. On walks and hikes, the pocket version of the kit is a few gauze pads, a roll of self-adhesive bandage and a tick hook in a zip bag, plus your phone with the numbers saved. Know roughly where you are when you call for help; a dropped pin or a what3words-style location saves precious minutes when a dog needs carrying out.
A note on kit maintenance
A kit is only useful if it is complete and current. Put a reminder in the calendar for the first weekend of spring and autumn: replace anything used, check expiry dates on saline and anything else with a shelf life, and confirm the numbers card is still correct. Five minutes twice a year keeps the kit ready for the day you hope never comes.
Common mistakes owners make
The most common mistake is owning a kit that has never been opened, with expired saline and a bandage nobody has practised wrapping. The second is reaching for the human medicine cabinet, where almost everything is the wrong answer for a dog. The third is skipping the muzzle because the dog is gentle, and getting bitten by a frightened animal in pain. The fourth is treating first aid as the finish line: a bandaged paw still needs the vet, just safely. Open the kit, practise the wrap, save the numbers, and remember the rule that governs everything: stabilise, then go.
When to see a vet
After any first aid, the vet is the next step. Call ahead so they can prepare, describe what happened and what you have done, and bring anything relevant: the packet of what was eaten, a photo of the wound, the tick you removed. First aid done well, followed quickly by professional care, is the combination that saves dogs.
The bottom line
Dog first aid is a small investment with an outsized return: one pouch, five skills, three numbers. Build the kit this week, save the numbers today, and consider a short course for the confidence that only practice gives. Your dog will never know you did it, which is rather the point.
Questions people actually ask
What should be in a dog first aid kit?
The essentials are gauze pads, self-adhesive bandage wrap, blunt-ended scissors, tweezers or a tick hook, saline solution, a digital thermometer, a blanket and a written list of emergency numbers. Add a muzzle or soft tie, since even a gentle dog can snap when in pain.
How do I help a choking dog?
Stay calm and look in the mouth first: if you can see the object and reach it easily, remove it with your fingers or blunt tweezers, but never sweep blindly, as that pushes objects deeper. If the dog cannot breathe and the object will not move, get to a vet immediately while someone else drives.
Can I give my dog human painkillers?
No. Ibuprofen and naproxen are toxic to dogs, and paracetamol is dangerous without veterinary dosing. Never give any human medicine unless your vet has specifically told you to, at a dose they have calculated for your dog's weight.
How do I stop bleeding from a dog's paw or leg?
Apply firm, direct pressure with a gauze pad or clean cloth for several minutes without peeking. If blood soaks through, add another layer on top rather than removing the first. Most bleeding stops with pressure; if it does not within ten minutes, or the wound is deep, go to the vet.
What should I do if my dog has heatstroke?
Move the dog to shade, wet their coat with cool (not ice-cold) water, especially the belly, groin and paws, and offer small amounts of water to drink. Then go straight to the vet, even if the dog seems to recover, as internal damage can continue after cooling.
Is it worth doing a dog first aid course?
Yes. A half-day course teaches bandaging, CPR basics and how to move an injured dog safely, and it builds the calm that matters in a real emergency. Several veterinary charities and training organisations run them online and in person.
Sources
Breeds mentioned

Put it into practice
Read next
Dog Dry Heaving: Causes and When It Is an Emergency
Dog dry heaving is usually throat irritation or mild nausea, but repeated unproductive retching with a swollen, tight belly can be bloat (GDV), a life-threatening emergency.